Rock Work Hints and Tips |
The rocks are a love-hate thing. I love them when they're done, but not so much when I'm working with them because they are such a big mess. I use Woodland Scenics molds, though I suppose most any molds would do. I make quite a few castings in one batch. Be sure to not put any plaster (or hydrocal) material down your drains. To avoid this I mix my hydrocal in one quart cottage cheese containers and then throw them away when done with the batch. Don't try to re-use them for the next batch. Residual bits of set-up plaster (or hydrocal) will accelerate the setting of the next batch to a surprising extent. I also use vinyl gloves. They protect my skin and I just take them off when done and throw them away.
I get hydrocal in 25 pound bags at a local sculpture supply company. It's a lot cheaper that way. We are fortunate to have Sculpture Depot nearby in Loveland, CO. You may be able to find a local supplier using Google.
First I decide on the direction of bedding planes in the rock strata for a scene, then fit the molded rock pieces together in a rough plan. For the sides of cuts, I finish the surrounding terrain first, leaving a sheet of cardboard backing (rather than the cardboard mesh backing used elsewhere) where the rock surface of the cut will be. Be sure to allow some extra space between the cardboard cut backing and the roadbed, as the rock castings and infill plaster work will generally turn out to be about 3/4 of an inch thick.
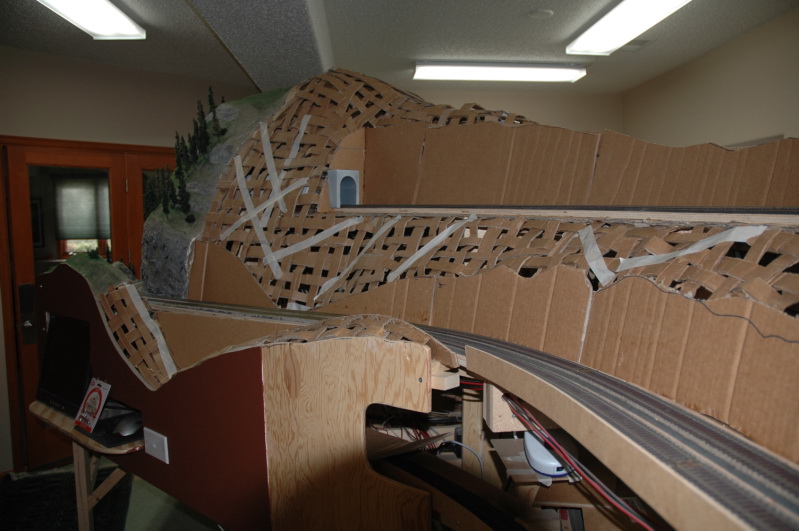
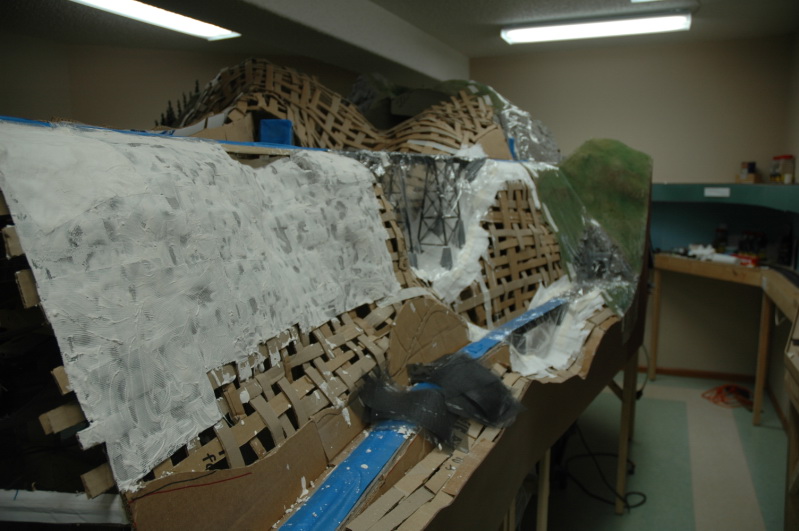
The next three photos show the cardboard mesh, cardboard backing, terrain almost ready for the rock molds to be applied
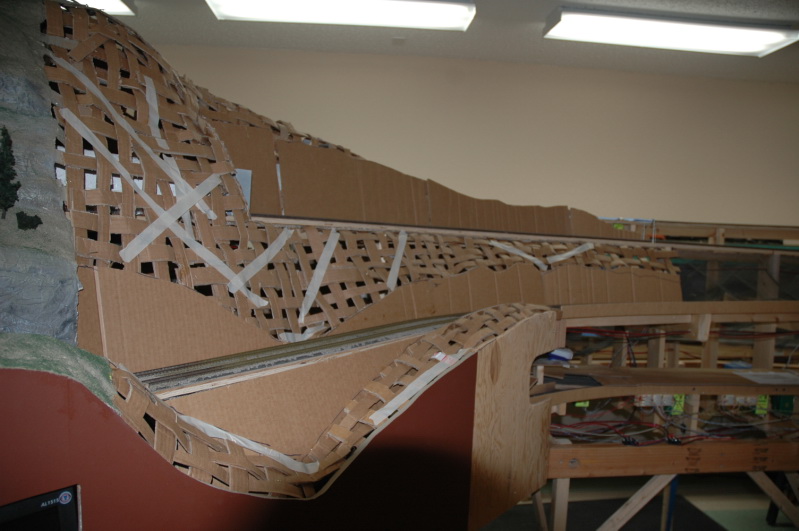
The cardboard mesh and cardboard backing assembly is held together with hot glue.
In the photo below, fabric screen material soaked in hydrocal has been applied to the cardboard mesh. This will be followed by a layer of hydrocal soaked paper towels.
When you have everything ready, mix a batch of rather thick hydrocal and slop some on the cardboard cut backing. Then put the rock castings in place according to your rough plan. It helps to wet the back of the rock castings before placing them in the wet hydrocal. When you have a group of castings in place, mix some more hydrocal. Make it fairly thick. Put the hydrocal between the rock castings and as it begins to set but while it is still workable, use a pallet knife, dental picks, table knives, screw drivers, or whatever else works, to carve and blend the hydrocal into the spaces between the rock castings. It's good to have a supply of paper towels handy for wiping off tools when you are done with them. Again, this is a strategy to avoid putting plaster down your drains.
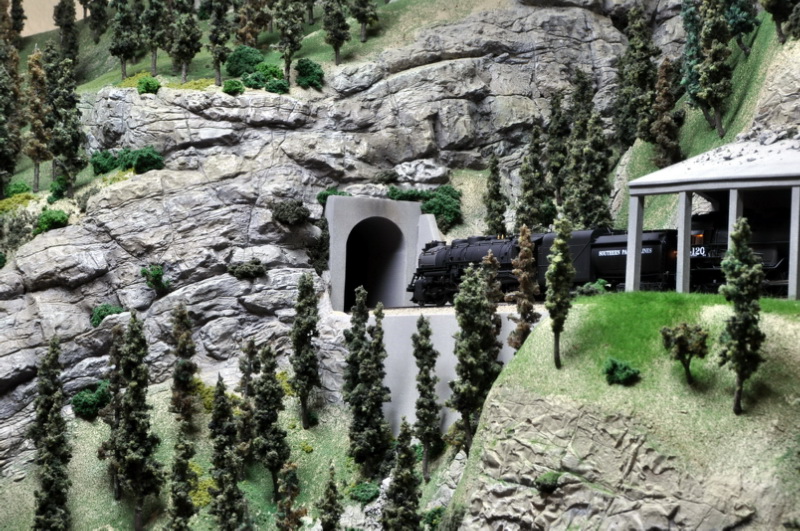
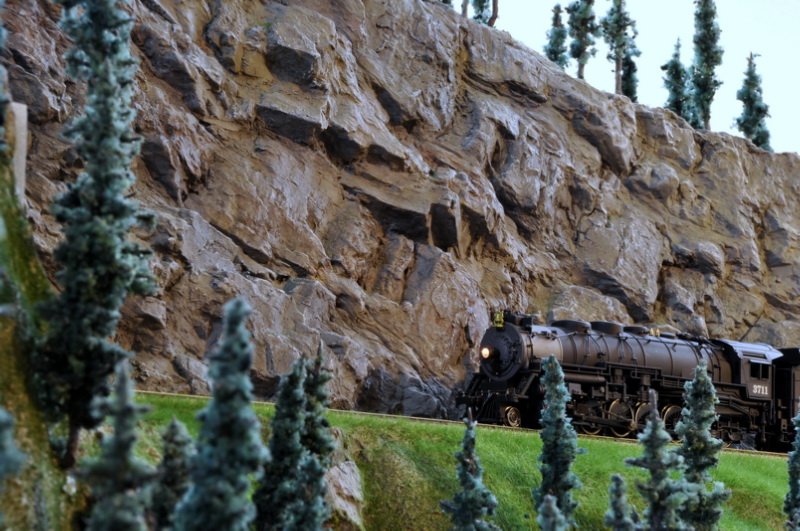
The next two photos show some completed rock outcrops and rock cuts.
It may take some practice to find out how to get the effects you want. It can be frustrating and messy so don't get discouraged if it does not go well at first. It will also help if you study some actual rock outcroppings and rock cuts to get a general idea of how they are organized. The most common mistake I see people make is to put their castings together in a completely random fashion. Rock cuts and outcroppings do have some randomness due to fracturing and faults, but there is also usually some organization due the original depositional environment.
I use ordinary latex house paint for the basic rock color. When the base coat has dried, I deepen the shadowed areas by blending in black paint and India ink washes. Different colors can be added by blending and using washes. When you are satisfied with the colors, then use a dry brush technique to add white accents here and there to simulate rock weathering. Again it will be helpful to carefully study actual rock outcroppings. As a final step you can add some residual dirt (as it will have washed down from above) and vegetation bits.